This was my first major project. And also the first big project I actually completed. I have several cross-stitches that are only partly done. I must have a bit of ADD; I get bored halfway through something and quit. I did take a break halfway through this project for a few months to work on something else, but I came back eventually.
I got this pattern from this site. It didn’t turn out as wide as the picture, but that’s fine.
Here is what the pattern itself looked like:
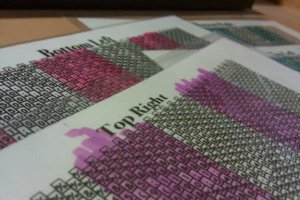
I tell people it looks like a cross-stitch pattern, and that’s also how you read it-there’s a key that matches all the symbols to colors, but in a peyote stitch, you work in rows, whereas in cross-stitch, you work each color around a fabric base. In peyote, there is no fabric base, just string. I highlighted sections and had the pattern laminated to help my eyes differentiate rows better. The lamination was so as I completed a row, I could make a dot on each square with a marker, so I knew where I was.
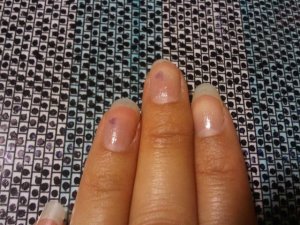
(Also, painted nails pick up marker when you drag them across markered surfaces, even if it’s dry, both the polish and the marker. Unpolished nails do not have this issue.)
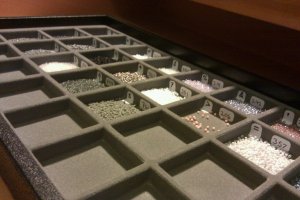
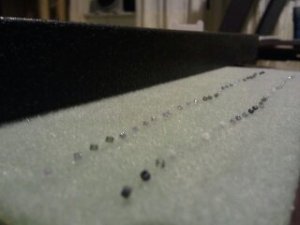
This is a picture of the bead tray, with all the beads together with their corresponding symbols and color number. I believe there were about 24 colors.
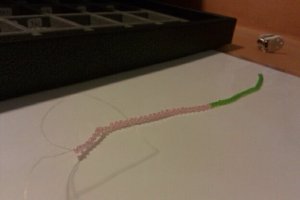
Starting the first 3 rows of peyote stitch is pretty difficult, especially such long rows-they tend to twist around, and then they’re not in the right order. So how did I remedy this? I made a base row:
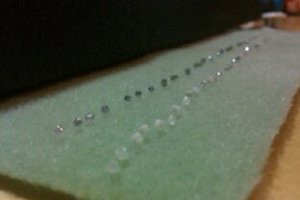
I made it two colors because the pattern was 2 pages wide, and peyote stitch is worked left to right, then right to left.
First row all lined up:
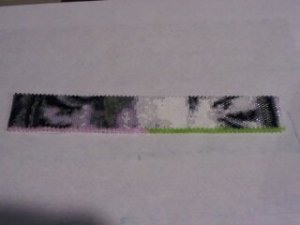
How it looked after 10 feet of string:
Then another 14 Feet:
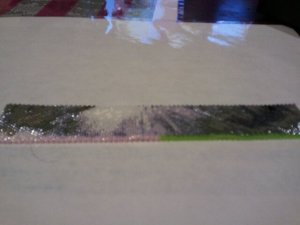
After 13 more feet it started to take on a bit of shape, at least to me, not to anyone else:
13 more feet. My what big teeth you have! This was the point where people started making guesses.
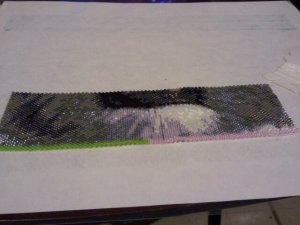
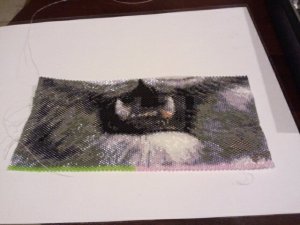
Then I aggravated people by starting a new section, as the first one was becoming difficult to hold:
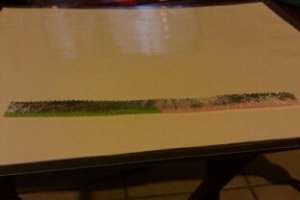
This is what it looked like if I just put the pieces next to each other:
At this point, I took a 2 month break to do something else. Then I came back to it:
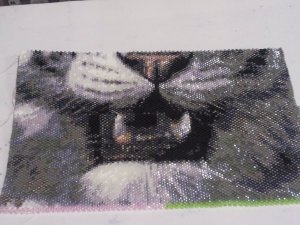
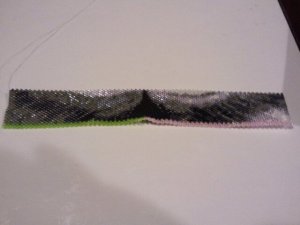
I got halfway done, and sewed the pieces together: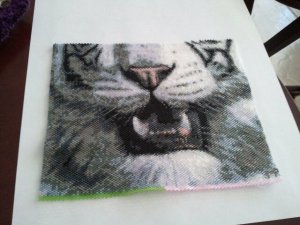
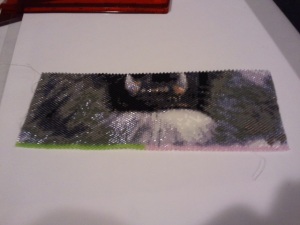
Then I started the second half, and did 20 feet. The very top row has the first blue beads:
I was excited to reach a color not a shade of black or white:

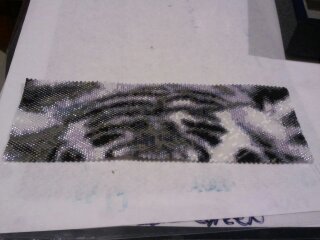
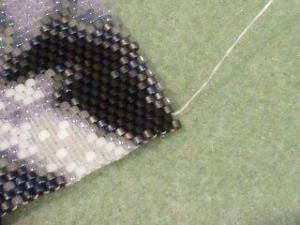
Hmm, I don’t seem to have a pic of a strip with the eyes. This is the last row! Looks pretty similar to the first row. In fact, it looked so similar that I’d originally posted this pic up there as the first row. Fixed it, though.
Waiting for the very last bead:
Very last section:
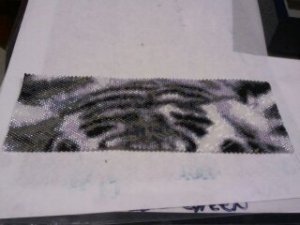
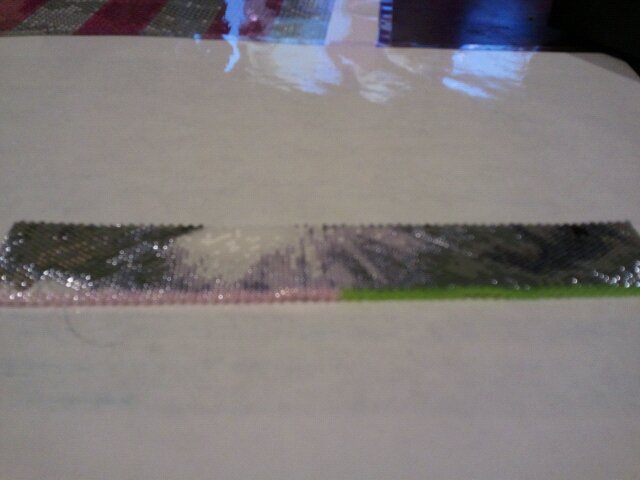
All done and framed!

My pile of trash:
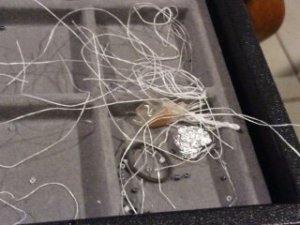
Misshaped beads, string snippets, and various trash. The bandaid there is not because I injured myself while beading, though I’m sure I stabbed myself with the needle several times, but to help prevent injury. In tightening the string, I would wrap it around my finger and pull. Well, after a while, the string thinks your hand is cheese and wants to cut right through it. So, I’d put the bandaid on my finger where I normally wrap the string. I had tried this years ago while beading with wire, but the bandaids I used just got all gummy, and got the wire gummy. Then my cousin mentioned that her mom wouldn’t let her get these Star Wars bandaids, so I got her some and sent them to her at college. I don’t know what led me to try one, but they work so incredibly well. They are Nexcare waterproof bandaids. No, I don’t usually get the Star Wars ones. I did, however, write to the Nexcare company, asking them to please make a box of only one size, as I could only use the one size, and most people also only use one size, and have a rare need for the other two. Whatever, not like they’ll listen.
Other tools used: tweezers, for pulling cat hair out of stitches. Sugar likes to lay in my lap, and running the string over her fur results in fur in the stitches. Also, Vaseline’s Total Moisture lotion. It absorbs very quickly without leaving your hands feeling slick. This is important, as trying to pull a needle through a bead doesn’t work well if you don’t have a good grip on it.
I broke At least one needle and 2 beads during this project. Well, 2 beads that I couldn’t easily replace. It would have caused me to undo several rows. Fortunately, I could semi-easily put another in its place, I just had to sew back through that row and add another. UN-fortunately, this left the string that had been hidden by the previous bead exposed. But only on one side. So, the two beads that I had to re-sew, I made sure that the exposed string was on the backside.
I ran out of one color bead when I only needed 4 more! Good thing there was a similar color I could use instead. There was also this other color that was apparently painted, and after a while the paint rubbed off, exposing the color underneath, which was not a base color like, hmm, say, white, but blue. Whatever. Once I finished the project, I emailed the pattern-maker and told her all about my experience with the whole project, and about the color rubbing off. She said she’d adjust the pattern. Otherwise, she was pleased to hear about my experience.
I began this project in December, and finished in July. I took a 2 month break, then another 2 month break later, so I guess this took around 3 months?


![IMG_5384[1]](https://cathairinmybeads.files.wordpress.com/2013/03/img_53841.jpg)
![IMG_5383[1]](https://cathairinmybeads.files.wordpress.com/2013/03/img_53831.jpg)